Version 4.0 beta
Disclaimer
For members who are working on their Lexus may submit tips along with detailed photos of their work. Please submit as much information as well as high detailed reports on the job you have completed on your Lexus. Also photos and sketches appreciated.
PLEASE NOTE: The instructions detailed in " Workshop" are only meant to be rough guides , they are by no means conclusive or contain full maintenance instructions. No responsibility will be accepted by Bahamut Cars or Team Lexus (Lexus Owners Club) for any loss , damage or personal injury however caused by following these guides.
Consult a fully trained motor vehicle technician before carrying out any modifications to your vehicle.
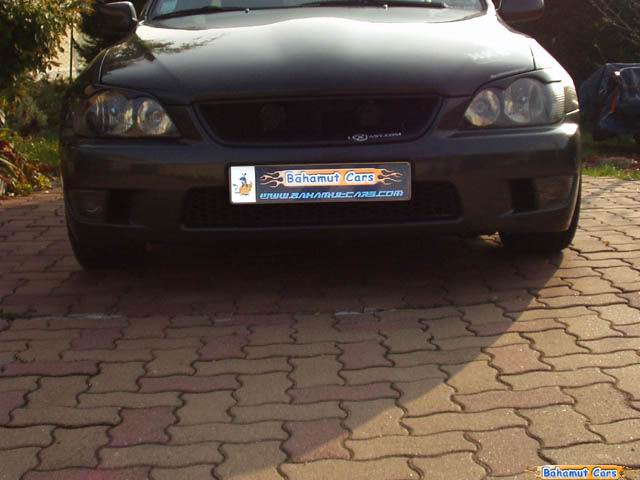
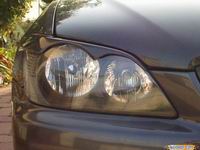
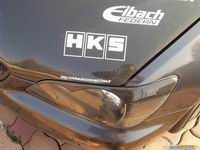
Headlights Eyelids Installation
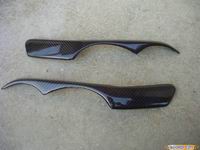
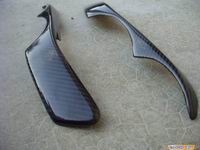
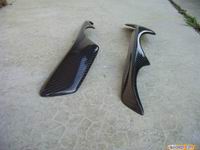
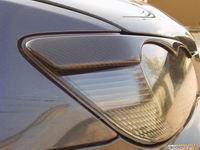
Eyelids I will install in this workshop are carbon fiber Tom"s style ones.
As you can see on the pictures, the finish is really great.
As you can see on the pictures, the finish is really great.
To fix the eyelids, the most common way is to use double side tape.
If you have carbon fiber eyelids, the tape may not be hard enough to maintain the eyelids if they are bent. In that case , you can use windshield glue instead of the tape but it will be harder to remove when you will have to.
If you have carbon fiber eyelids, the tape may not be hard enough to maintain the eyelids if they are bent. In that case , you can use windshield glue instead of the tape but it will be harder to remove when you will have to.
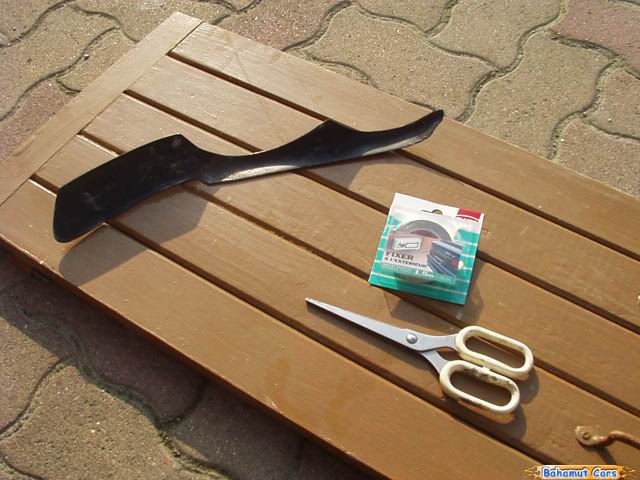
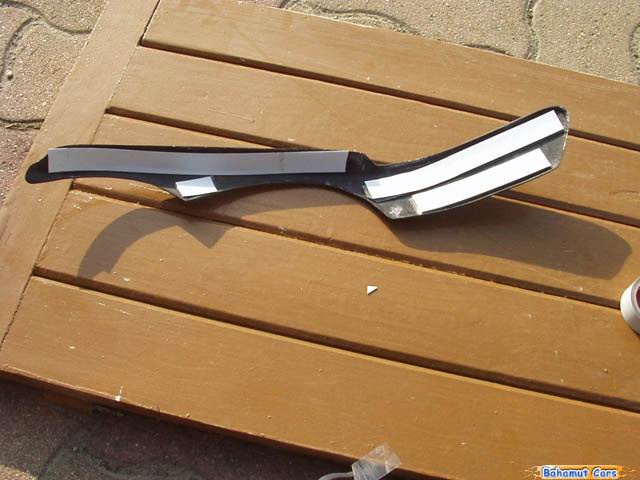
Step 1 : Cut some pieces of the tape and stick them hard on the eyelid"s back side. You shoul let the tape"s glus activate for about 24 hours.
On some parts of the eylids, you will have stick 2 or 3 layers of tape to compensate the eyelid"s border.
Step 2 : While waiting for the glue to activate, clean you headlights with 90° alcohol, beware , the headlight"s glass is made of plastic.

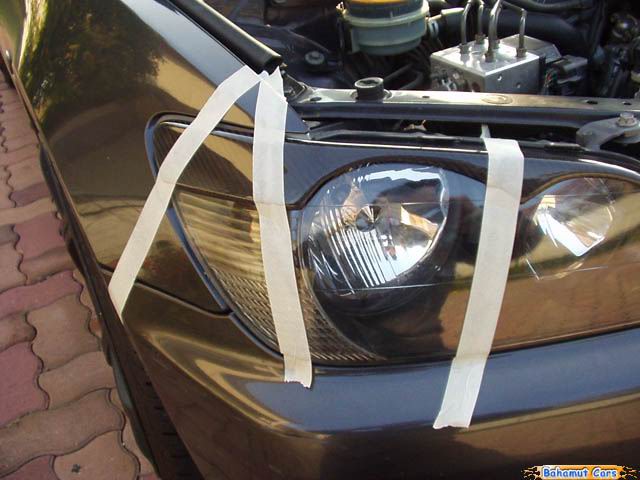
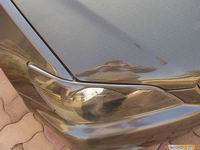
Step 3 : Remove the tape"s protection and place the eyelids on the headlights, beginning by the outer corner to have the best alignment with the wing (fender).
Press the eyelid on the headlight foir at least 30 seconds, then if it doesn't stay sticked, use mask tape to maintain it for 24 hours.
Press the eyelid on the headlight foir at least 30 seconds, then if it doesn't stay sticked, use mask tape to maintain it for 24 hours.
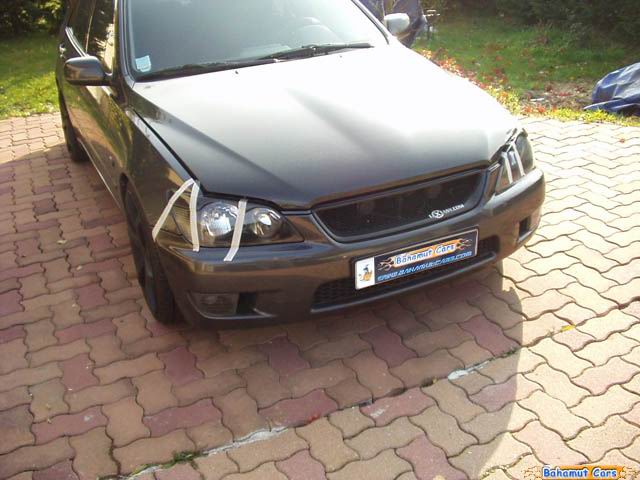
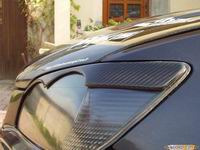
Step 4 : You can now remove the mask tape and appreciate your car"s new look.

Many thanks to Alex @ Dyna Autosport (JDMParts_Guru) who provided the eyelids  > Cheers mate.
> Cheers mate.